
Here is a quick guide on installing the Advanced Custom Fields plugin (ACF) pro or free version on your WordPress website.
Install ACF Plugin
If you haven’t already, install the ACF Plugin

Add new field Group
Under the Custom Fields Settings, you will want to add a new Field Group in the left side navigation bar.

Or use the “Add New” on the top right of the page:

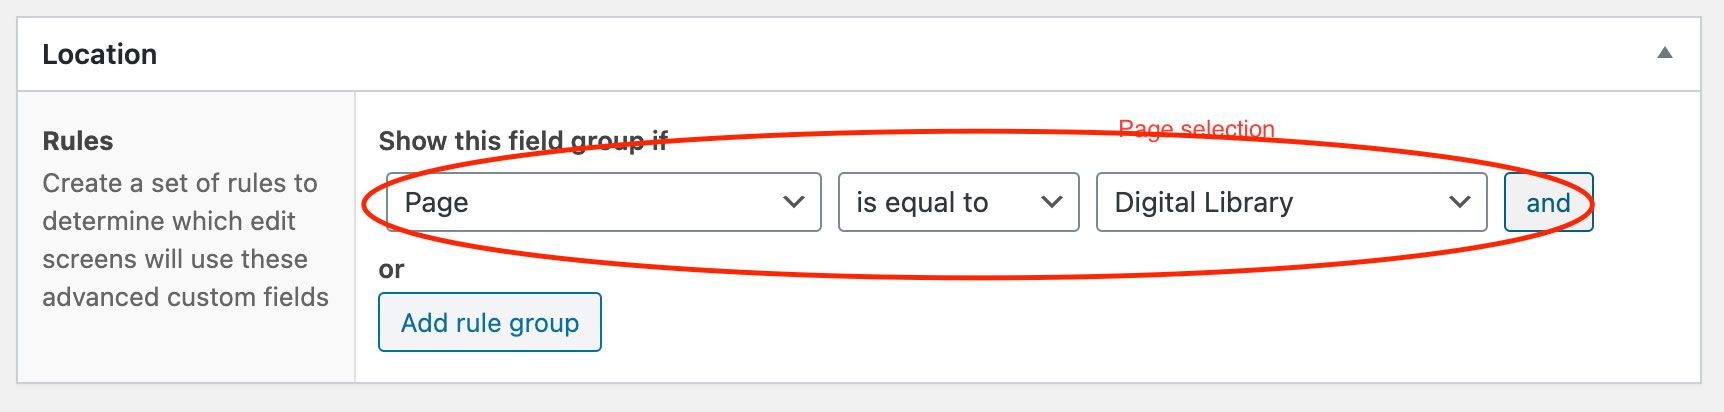
Select Location
In the new Field Group, Select the Page (Location) you wish to have custom field groups added on.
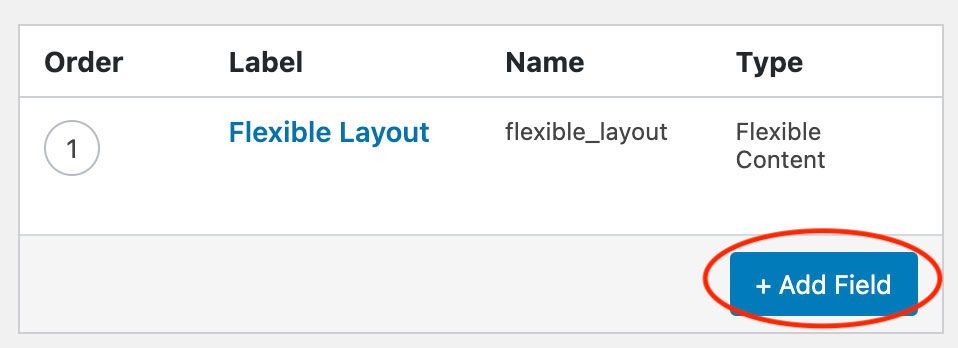
Add Fields
Add a Field; this could be text, images, emails, phone numbers, etc…
ACF Pro adds more features like WYSIWYG editors.

Add Content
Add the content to your field(s). This field is found on your selected page (location) you picked in step #3.

Add the Code
Create a new WordPress template, or add the custom fields to a current template.
To do this, you will need to have FTP to your hosting set up; within your hosting environment; you will need to navigate to:
/wp-content/themes/your-theme/
Adding your desired layout to a new or existing template.


Example
Here is an example of a production templated page section:
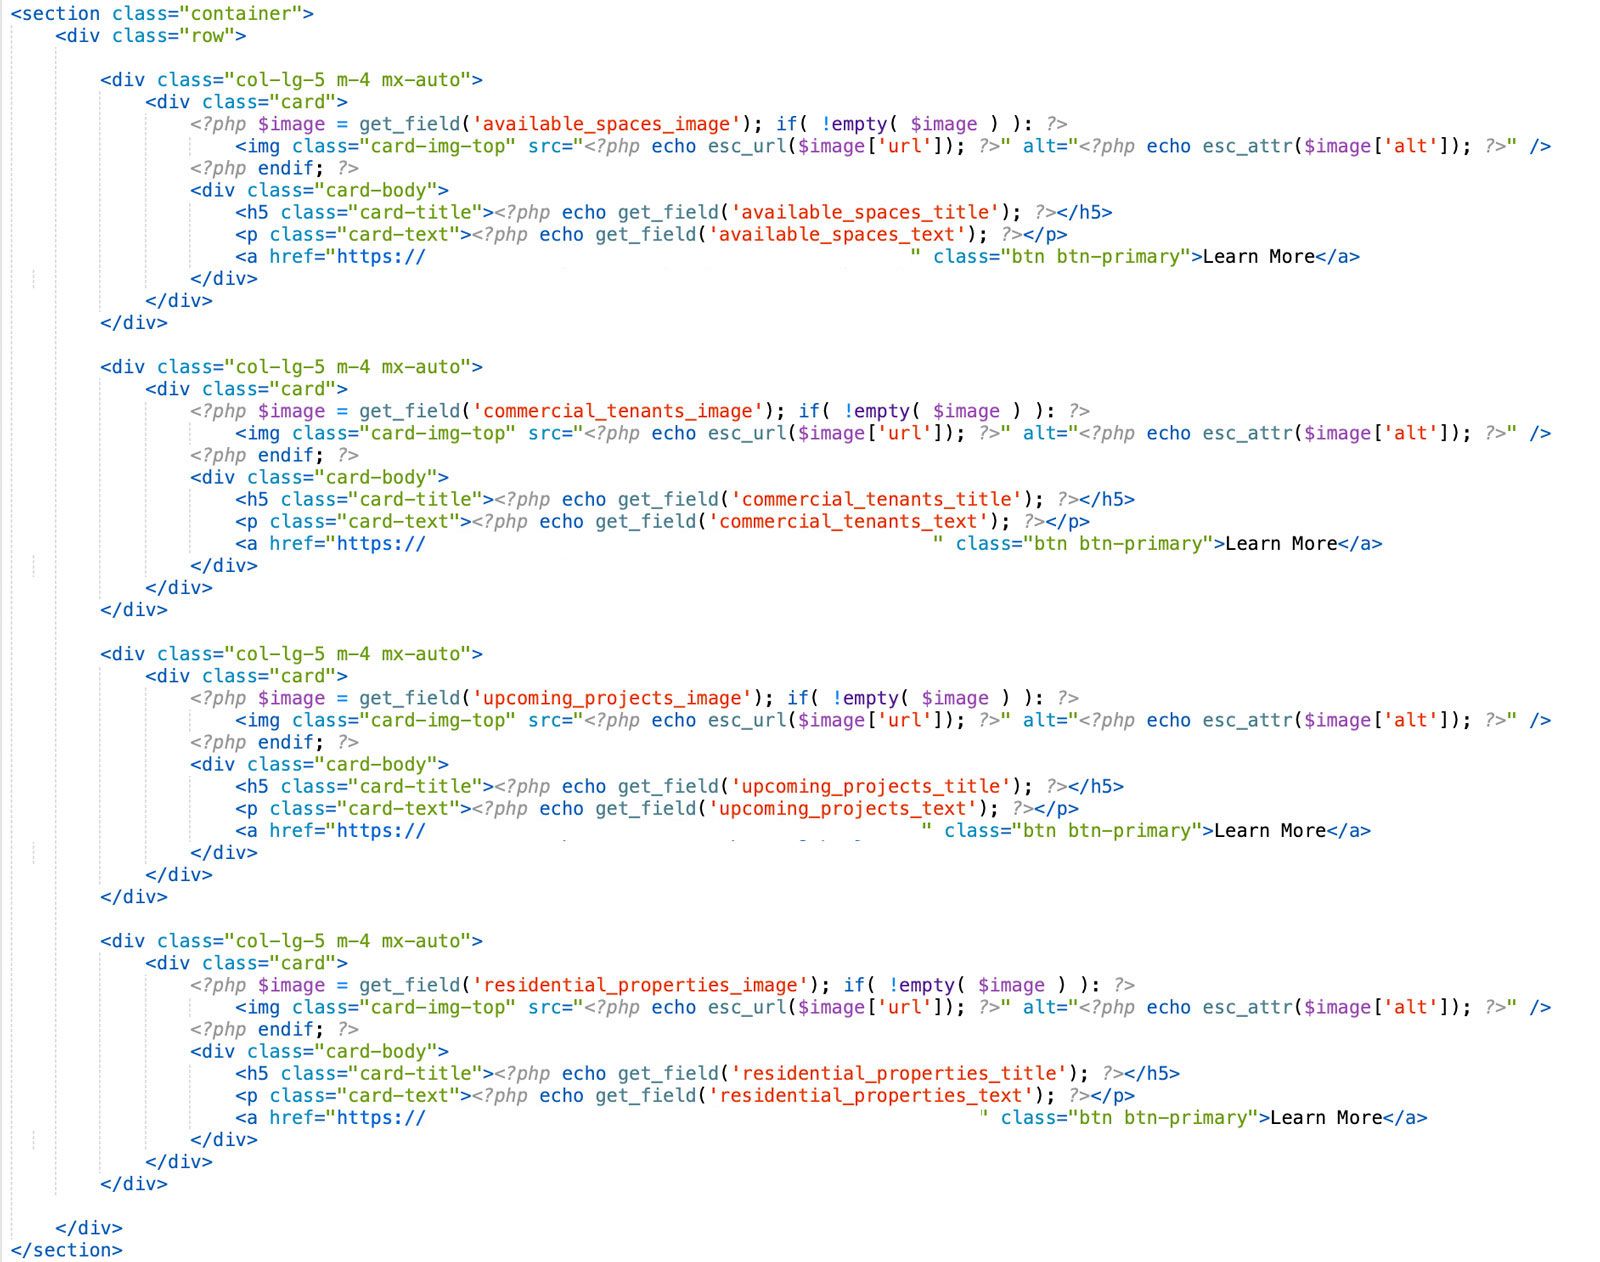
Within the new or updated template, you will need to add custom fields to pull. I’ve added basic examples below:
Advanced ACF Code
Advanced Integration
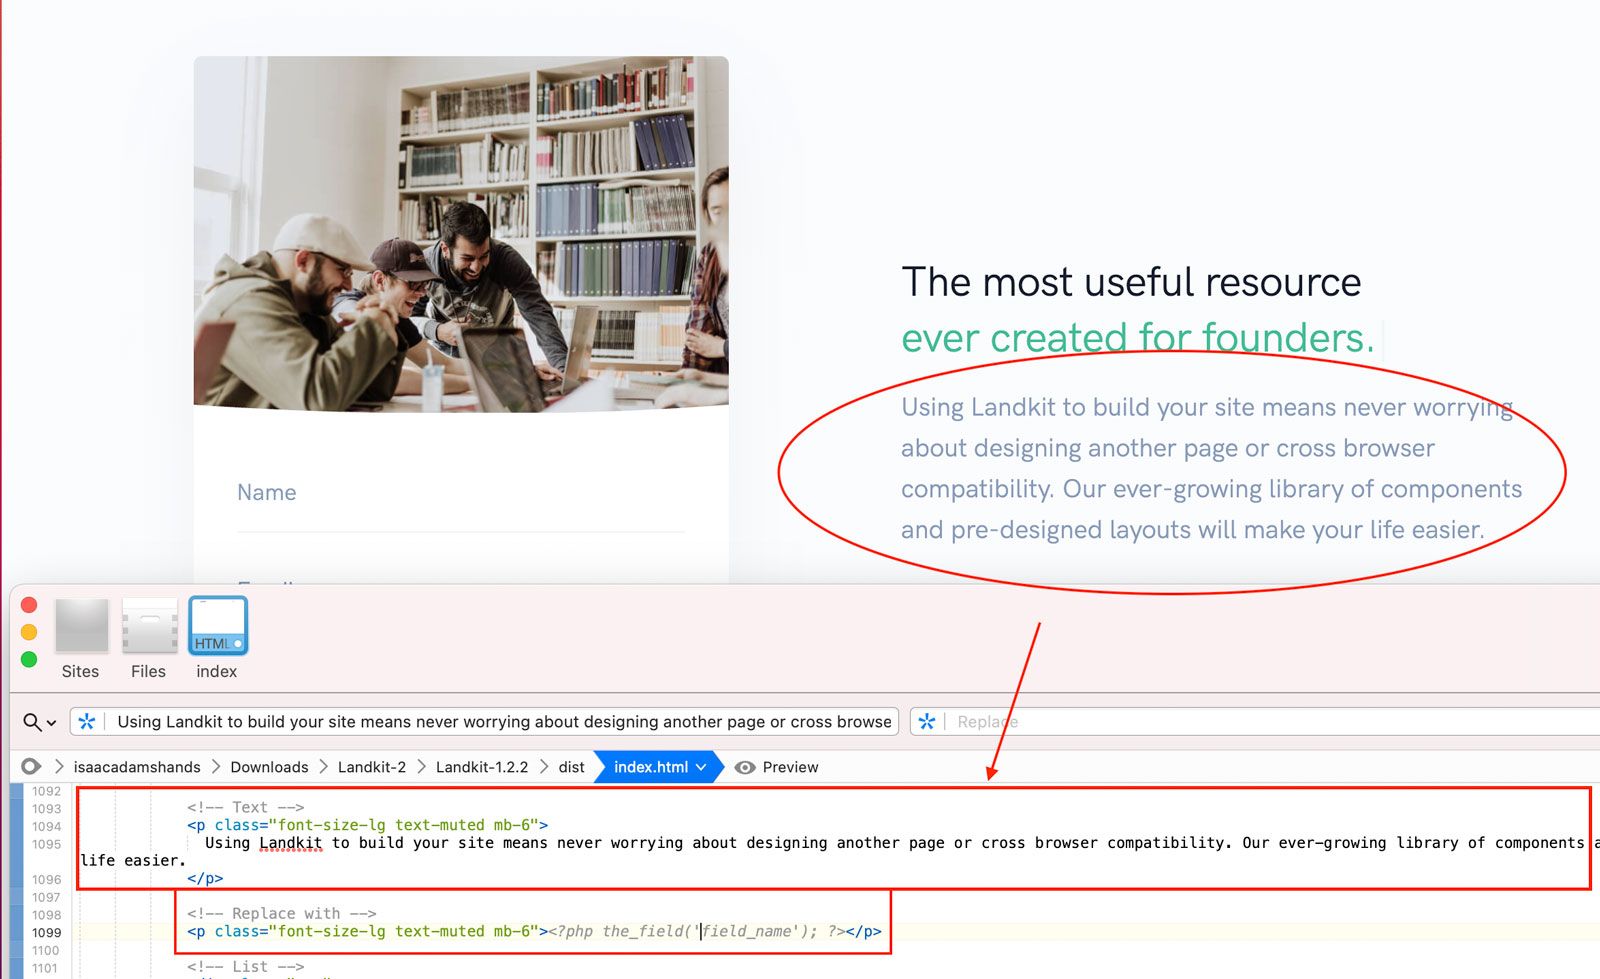
To give you an advanced example, I typically buy a theme on Bootstrap Themes, convert it to WordPress, and then replace specific sections I want to be dynamic with ACF Pro.

Here is an example of replacing the text with an ACF field:
I hope this helps to make Advanced Custom Fields more user-friendly.
For a deeper dive into adding ACF to WordPress, please read How to Convert a Static Website into WordPress, using Advanced Custom Fields